In this blog post, I explain how to build and install the Linux kernel from source.
First of all, why would you ever need to do this? Well, building the latest kernel yourself lets you keep your system up to date with the latest updates. You can try out new features. Additionally, you are able to configure many aspects of the kernel. However, since this is a newer version, it might be less stable than older versions. At the time I am writing this, the latest kernel from https://kernel.org is version 6.3.1, but the latest version available from the official Ubuntu repository is version 5.15.0-71.78. Although this kernel is older, it is probably more stable than the latest available version.
Anyways, if you still want the latest kernel, here are the steps.
NOTE: In this tutorial, I am building version 6.3.1. Replace that with the version of the kernel you are building in the commands mentioned below.
Step One: Getting the source
The easiest way of getting the source is to simply go to https://kernel.org and download the latest version.

You can also use wget if you prefer using the CLI.
$ https://cdn.kernel.org/pub/linux/kernel/v6.x/linux-6.3.1.tar.xzAfter downloading the tarball, you can extract it with the tar command.
$ tar xvf linux-6.3.1.tar.xzIn case you aren’t familiar with the tar command, this is what the command means:
taris the commandxmeans extractvmeans verbose, this makes it list all the files being extractedfmeans file, it specifies what file to extract
Now, you can cd into the extracted source.
$ cd linux-6.3.1Step Two: Building the kernel
Now that you have the source extracted, it’s time to build the kernel. Start by configuring the build.
$ make menuconfig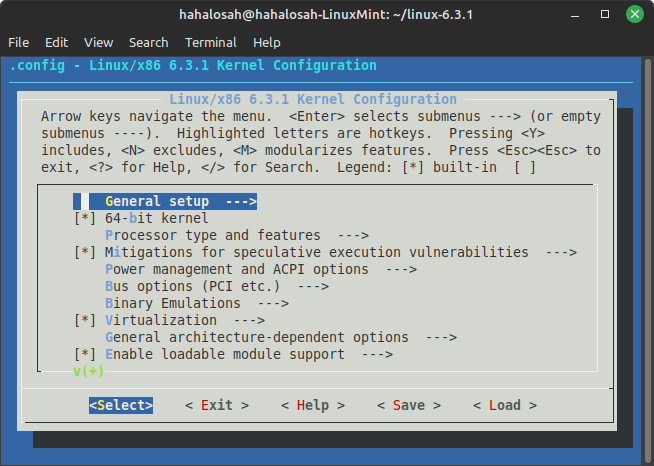
You should see something similar to the above. Here you can configure the kernel. If you want to stick with the default settings, just press escape twice and hit enter. Now you can begin the build by running make. To speed up the build process, you can run multiple jobs in parallel by using the -j option. For example, if you have 8 CPU cores, you can run:
$ make -j8The build process will take a while. Depending on your system, it could take several hours to complete.
Step Three: Installing the kernel and modules
Once the kernel is done building, you can install it by running the command:
$ sudo make installThe default configuration will install the kernel to your /boot directory. If you are using GRUB, it should also be automatically updated to include the new kernel. If not, you can update it manually by running sudo update-grub.
Now, the kernel is installed, but you still have to install the modules. To install the modules, you can run:
$ sudo make modules_install INSTALL_MOD_STRIP=1INSTALL_MOD_STRIP=1 ensures that the installed modules will be stripped. If they aren’t stripped, your initrd might become too big, which could cause issues.
Step Four: Test the new kernel
After installing the kernel and its modules, it’s time to test if everything finished smoothly. If you are using GRUB, the default entry should already be updated. After rebooting, you can check if you are running the latest kernel by running the following command:
$ uname -rIf the output matches the kernel you just built and you don’t have any other issues, you’re good to go!
Switching kernels in GRUB
If your new kernel will not boot, or you’re having issues with it, such as drivers failing to load or the display not working, you can switch back to your old kernel. At the GRUB menu, select Advanced Options under your Linux installation, and scroll down until you see your old kernel. Hit enter to boot your old kernel. Once your system starts up, you can attempt to fix any issues you were having.
Conclusion
If everything went smoothly, you should now be running the latest kernel. If you have any questions, you can contact me at [email protected]. Thank you for reading my blog post, and check back often for more updates!
Leave a Reply